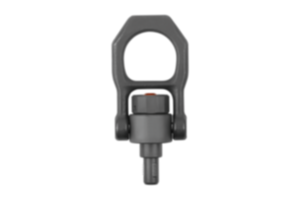
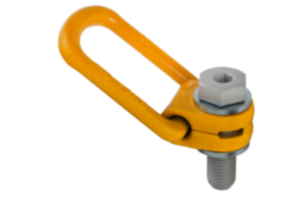
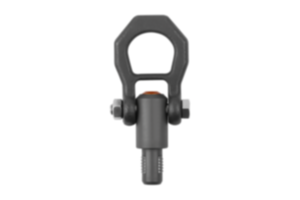
Threaded lifting pin stainless steel manganese-phosphated 07785-01-16
- Quick and simple hoist element with swiveling shackle
- The balls can be released by a push button
- The balls are locked again by releasing the push button
- Corrosion protected and weather resistant.
- TÜV tested
Sales unit
$495.44 / Piece
plus sales tax
Added to Your Shopping Cart
Designation
Threaded lifting pin
Main
material
stainless steel
Surface finish
body
manganese-phosphated
D1=Thread
M16
L1=shaft length
17
D2
13,8
D5
21,5
F1
kN
8,4
F2
kN
4,5
F3
kN
4,2
L10
12
L2
24
L3
25,7
L4
36
L5
27
L6
30
L7
49
L8
87,5
L9
21,5
~ CONFLICT MINERALS 3TG status
no intentional 3TG
~ CP65 substance 1 cancer & reproductive toxicity
lead and lead compounds
~ CP65 substance 2 cancer
nickel (metallic)
~ PFAS free?
yes
~ REACH SVHC-free?
no
~ REACh SVHC 1 name > threshold
lead
~ RoHS conformity
yes, with exemption
~ RoHS exemption/s
III/6b-II
~ TSCA 6(H) conformity
yes
Description
Material
Pin stainless steel 1.4542.
Shackle stainless steel 1.4571.
Threaded element stainless steel 1.4542.
Push button aluminum.
Spring stainless steel.
Version
Pin precipitation hardened.
Threaded element precipitation hardened.
Push button orange anodized.
Threaded element precipitation hardened.
Push button orange anodized.
Note
Threaded hoist pins are used as a quick and simple lifting element with a swiveling shackle.
The threaded segment is unlocked by pressing the push button, and the threaded pin can then be inserted into or removed from the tapped hole. When the push button is released, the threaded segment locks securely. This eliminates time-consuming screwing in and unscrewing as by e.g. ring bolts.
The shackle can swivel through 180°. The safety strap on the shackle prevents the push-button being unintentionally pressed during linear tension.
The prerequisite for use is a precision tapped hole in a material with the appropriate strength.
Detailed operating instructions are enclosed with each threaded hoist pin.
Corrosion protected and weather resistant.
TÜV certified.
The specifications X min., F1, F2 and F3 are tested as per DIN EN 13155 with a test load equal to 3 times the nominal load.
Temperature range
max. +250 °C.
Assembly
Installing:
1. Press the button and keep it pressed.
2. Insert the threaded hoist pin.
3. Release the button (the button should pop back out again).
4. Screw the threaded hoist pin in by hand
until it lays completely on the contact face.
5. It should be ensured that the
threaded segment is engaged in the
receiving thread.
Removing:
1. Rotate the threaded hoist pin
ca. a quarter turn anti-clockwise
2. Press the button and keep it pressed.
3. Remove the threaded hoist pin.
4. Release the button.
Important note on downloading CAD models
In order to download our CAD models, you must log in first. If you have not created an account yet, please register under "My Account" (right side of the screen) and follow the instructions.
Other customers also bought