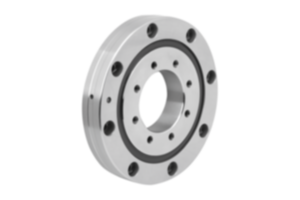
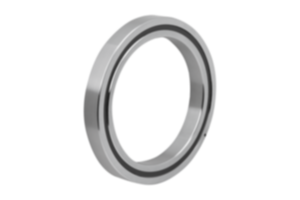
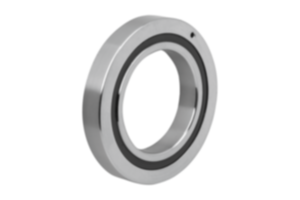
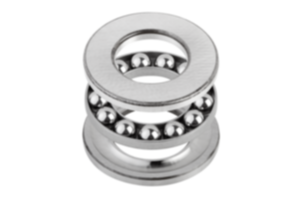
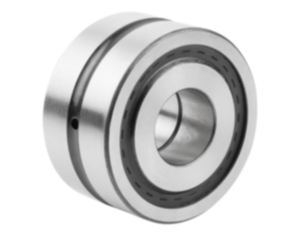
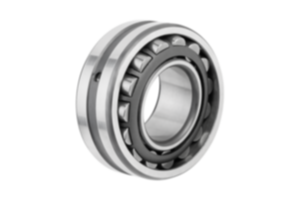
{"product":{"productId":"agid.22381","price":395.03,"name":"AXIAL ANGULAR CONTACT BALL, DOUBLE-ROWWITH FLANGE, 1255-2RS, FORM:A W3HO 3HOLES, D=12-0,005, D1=55-0,01, STEELGROUND, COMP:NITRILE RUBBER"},"currency":"USD"}
Axial Angular Contact Ball Bearing
double-row
steel
ground
- Support of high radial and axial loads
- High axial load rating due to the 60° pressure angle
- Suitable for high speeds
Sales unit
$395.03
plus sales tax
Added to your shopping cart
B=Width
25 -0,25
D1=Outside diameter
55-0,01
D=internal diameter
12-0,005
KZZ.=Abbreviation
1255-2RS
Axial
rigidity
N/μm
375
B1
3
B2
17
Bearing friction torque
Nm
0,16
Circular runout
μm
2,0
Component
material
nitrile rubber
D2
25
D4
6,6
D5
42
Dynamic
load rating
N
16900
Hole
tolerance
μm
0-5
Item
Axial Angular Contact Ball Bearing
M
M6
Main
material
steel
Moment of
inertia
kg.cm²
0,068
OD
tolerance
μm
0-10
R
0,3
R1
0,6
REACh
false
Radial
bearing clearance
pre-tensioned
RoHS
true
Speed limit
rpm
3800
Static
load rating
N
24700
Style definition
with 3 holes
Surface finish
body
ground
Tightening torque,
precision locknut
Nm
8
Tilt rigidity
Nm/mrad
50
Version 1
double-row
Version 2
screw-on
Width
tolerance
μm
0-250
style
A
α
60°
β
120°
Description
Material
Steel housing.
Nitrile rubber seal.
Nitrile rubber seal.
Version
Ground edges.
Technical Data
All bearings are supplied ready for mounting with lubricating grease type KE2P-35 acc. to DIN 51825.
Housing and shaft tolerances correspond to roundness tolerance class IT2 and perpendicularity tolerance class IT4.
Housing and shaft tolerances correspond to roundness tolerance class IT2 and perpendicularity tolerance class IT4.
Application
For thread drive bearing.
Temperature range
-30 °C to +120 °C.
Assembly
Precision slotted nuts must be used for mounting the threaded spindles.
To compensate for any material settling during assembly, tighten the slotted nuts using 2x tightening torque, loosen slightly and then tighten using the prescribed tightening torque.
Tighten fastening screws crosswise up to max. 70% of the yield point.
To compensate for any material settling during assembly, tighten the slotted nuts using 2x tightening torque, loosen slightly and then tighten using the prescribed tightening torque.
Tighten fastening screws crosswise up to max. 70% of the yield point.
Important note on downloading CAD models
In order to download our CAD models, you must log in first. If you have not created an account yet, please register under "My Account" (right side of the screen) and follow the instructions.


